How to Make DIY CBD Oil
You don't always have to go out and buy your CBD oil - you can make it from the comfort of your own home! Discover how.
According to the latest reports, legal cannabis is set to become a multibillion-dollar business in the coming years!
With increasing legalization and access to various forms of cannabis, it’s no surprise people are curious about how to make DIY CBD.
You may know what DIY CBD oil can do, but you aren’t sure of the best way to make it. On the other hand, you might have bought tinctures or oils in the past and want to try something different.
Fortunately, making your own CBD oil at home requires little to no expertise. It can also save you time and money.
Read on for our fave DIY CBD oil tips from the pros!
Sourcing Your Ingredients
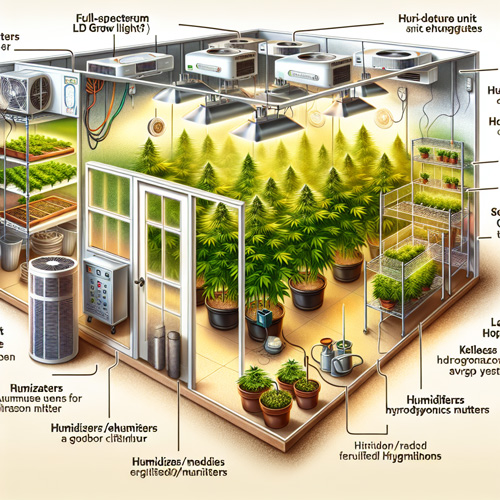
Cannabis can be used to make paper, clothing, and so on. Legalization of CBD consumption has kick started its growth as a consumable crop. It’s easier than ever to use in your DIY CBD recipe!
Each variety of cannabis has a unique set of compounds. Professionals can help new buyers understand which varieties are best for your purposes.
You can choose your preferred variety based on the effects you are looking to get from it. You also want to know which cannabinoid compounds are present, such as CBD or THC.
Some varieties are high in CBD, a cannabinoid many people use topically for pain relief and other medicinal purposes. Harlequin is an ideal variety for making CBD oil, as it gives you a bigger bang for your buck.
CBD isn’t the only cannabinoid that can be found in hemp flowers. If you use a flower that has THC, the cannabinoid known for getting high, you’ll want to factor that into your choice.
Preparing Your Cannabis
When using a DIY CBD oil recipe, you can start with either an extract or a flower. Starting with a flower requires a few extra steps, but you also have more control over the quality of product. An extract is great if you want to skip extraction and get straight to cooking.
If using a flower, you want to pick a quality plant. Trim off buds and leaves of your desired plant and set them aside.
Decarboxylation is the first step in prepping your plant variety. You will want your trimmed-off plant parts to have active CBD compounds to allow for its intended effects.
This process is much simpler than it sounds: simply bake leaves and buds at 230 degrees Fahrenheit. Check them after about forty minutes, giving them another few minutes if needed.
Voila! Your flowers are ready for CBD oil extraction!
Extracting Your DIY CBD Oil
Next, you will want to grind the hemp flower so you can mix it with oil or alcohol.
CBD binds nicely to fats and oils, so don’t use water for this part of the process.
Olive oil and coconut oil are both common cooking oils, and you can find either at any grocery store. Some people mix different cooking oils together. Alcohol also works for extracting compounds without any unusual odor or taste.
Either method teaches you how to make DIY CBD oil using basic tools found in the average kitchen.
Oil Method
- You want to mix the ground weed with your chosen oil, commonly referred to as a carrier oil. Examples are MCT, Olive Oil, Grapeseed, etc. The goal is to completely saturate your weed. Add more oil for a less potent mix, or vice versa.
- Those using oil may want to infuse it for a longer period before cooking. If so, find a dark place to store your mixture and check it after about six weeks for maximum impact.
- Next, you want to boil your mixture. If you mixed your ingredients in a mason jar, place the jar on a towel in your pan. Controlled heat will keep the CBD from evaporating. Fill the pan with water and boil. You don’t need a rolling boil. Aim for around 200-300 degrees Fahrenheit.
- Let the pot sit on heat for several hours. You want to check it every half hour or so, making sure you maintain the water level.
- Turn the stove off and let your mixture sit for a few hours.
- Turn the heat back on for another three hours and leave your mixture with the heat off overnight.
- Strain through a cheesecloth and squeeze to get your oil out.
Alcohol/Ethanol Method
- Place your buds and leaves in a glass or ceramic bowl. Soak in alcohol and stir for at least 5-6 minutes. You can remove the resin with a spoon (preferably not plastic, though).
- Use a mesh sieve to filter out the extract, getting out as much of it as you can. You may want to repeat steps using a bag if you aren’t getting enough oil from the weed, or you can add another batch of prepped buds to soak and sieve.
- Pour your extracted oil into a double boiler. You want the alcohol to evaporate. You should start to see bubbles.
- You will want to simmer over low heat for around half an hour.
- You will be able to mix what’s left after the alcohol has evaporated.
Rosin Press
- Grind your hemp flowers, and place into your preferred micron pouch, or into non-bleached parchment paper.
- Using a rosin press, place the pouch into the press, and apply pressure (with or without heat depending on your setup). Using a straight iron (yes, for hair), set to your desired temperature (we use around 350 – 375 F), place your parchment paper into the iron and while using hot gloves, apply pressure while squeezing the iron together.
- You will notice some of the resins and oils being pressed away from the flower material. Maintain pressure for 30 seconds to 90 seconds, or longer if desired.
- Using a dab tool or silicon scraper, collect the precious hemp extract, and place into a storage container, or directly into a carrier oil or lotion base. You are able to dab this product, or blend it into a finished product.
CO2 Extraction
- This process has a much higher entry cost, as CO2 extractors can be quite expensive to purchase. Once you have one, set up the extractor to the temperature, pressure, and other variable settings depending on your set up.
- Place biomass into extraction chamber, and safely seal the chamber.
- Proceed with the process according to manufacturer specs and desired extract consistency.
- Store your extract in a cool, dry, and dark place in airtight container.
Storing Your Final Product
How you store the product depends on your intended use. If using the oil for edibles, you don’t have to worry about keeping the oil as long.
CBD sprays are great to use as toners or serums. You can add other ingredients like aloe or blue chamomile based on your personal preference.
If using topically, you want to find a storage bottle with a lid. The tighter the lid, the longer your oil keeps.
When storing for immediate use, consider the following possibilities.
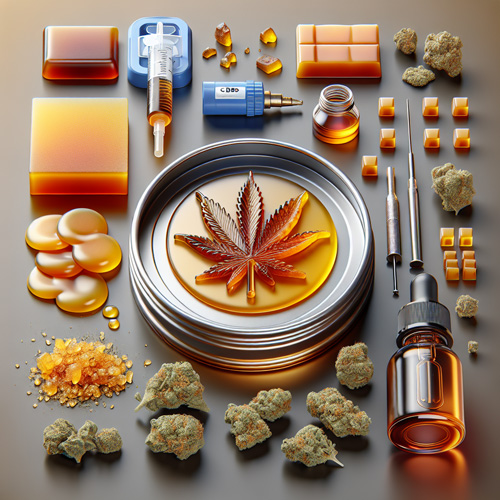
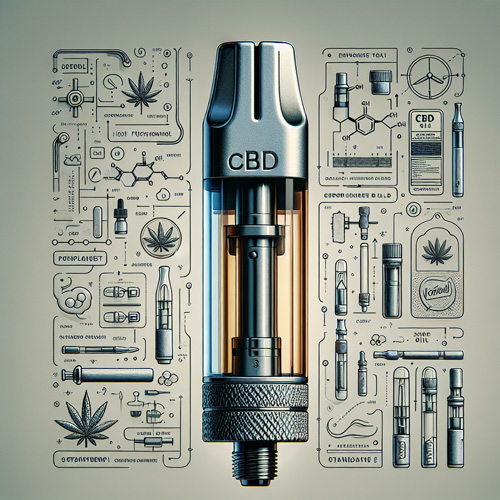
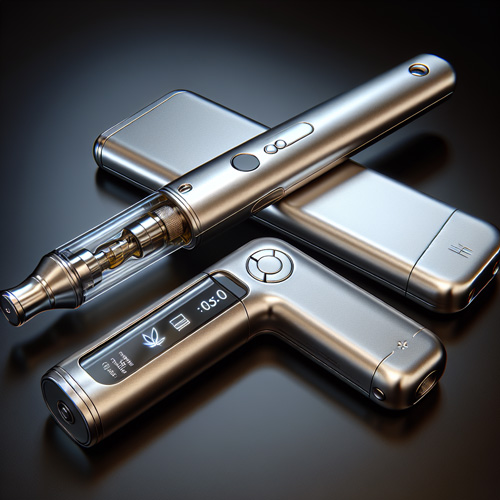
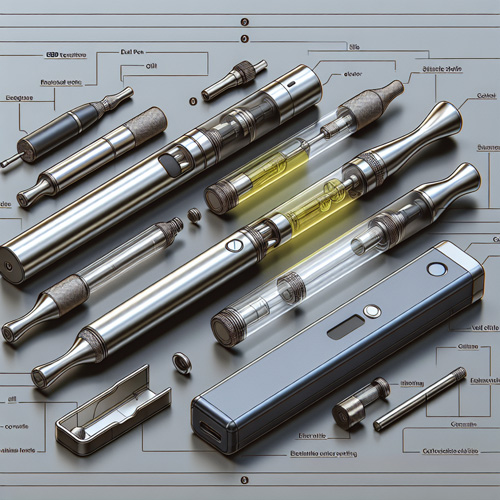
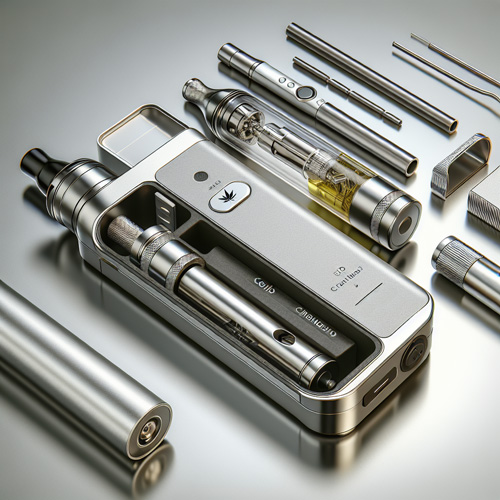
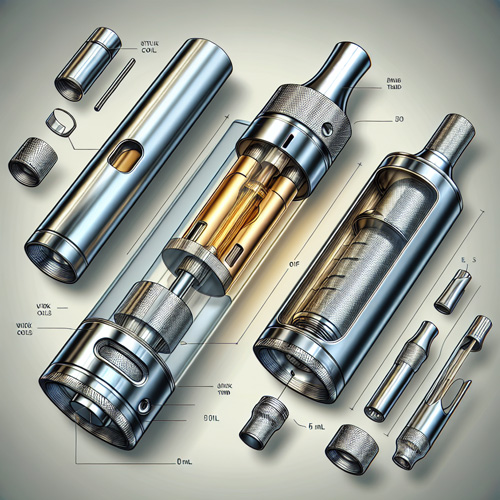
- Vaping has become a popular way to consume CBD oil. This allows you to control how much CBD you ingest.
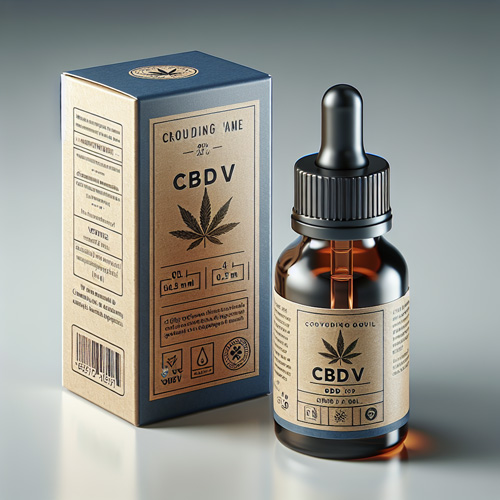
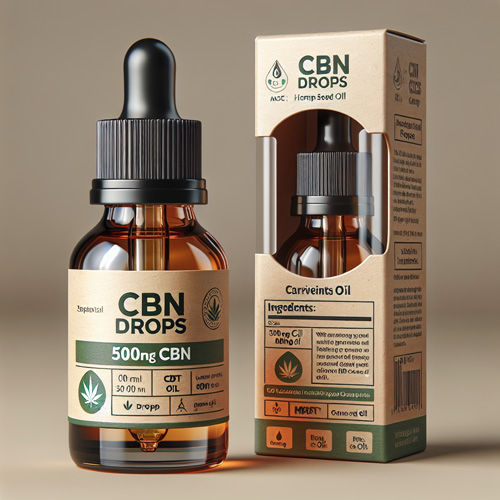
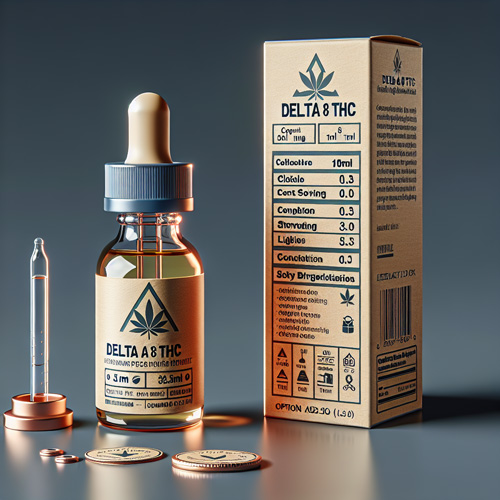
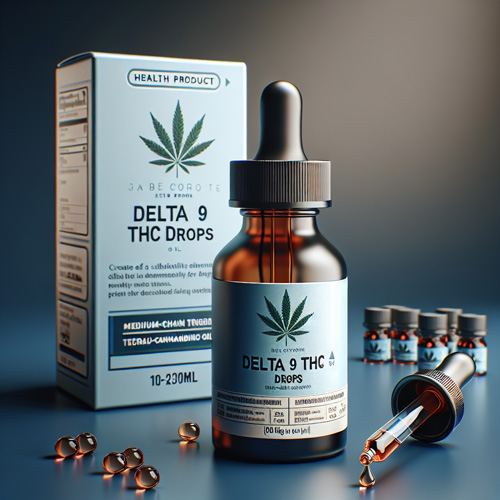
- Tinctures can allow for quick absorption. Just apply a few drops under your tongue for the desired effects.
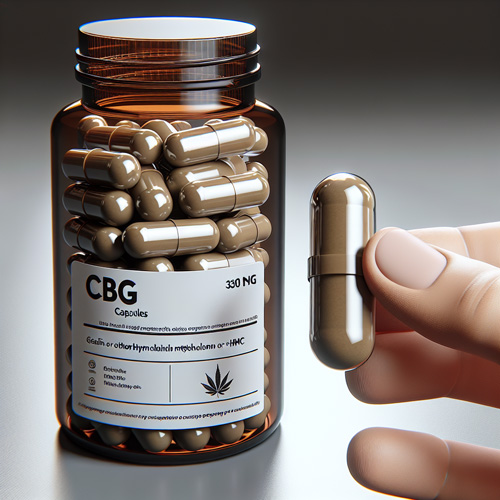
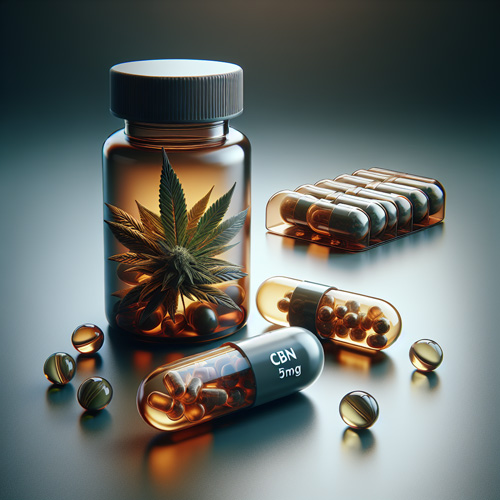
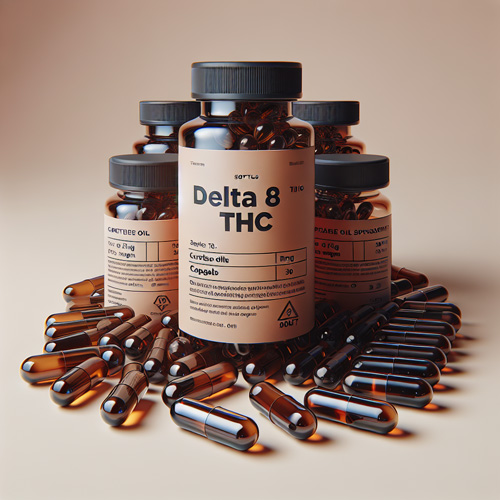
- Ingestion in the form of a capsule is best if you don’t like vaping or edibles.
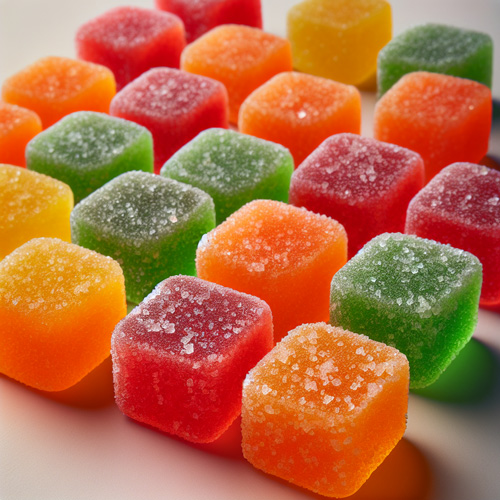
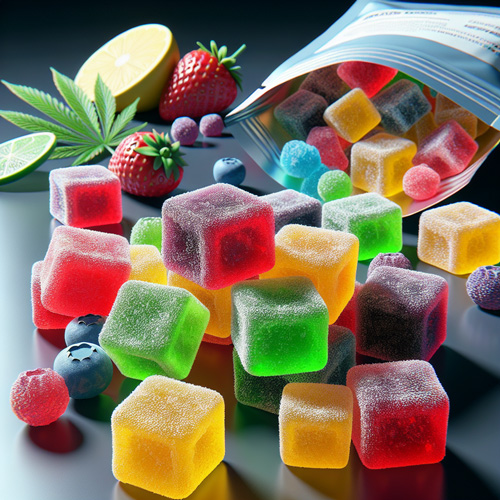
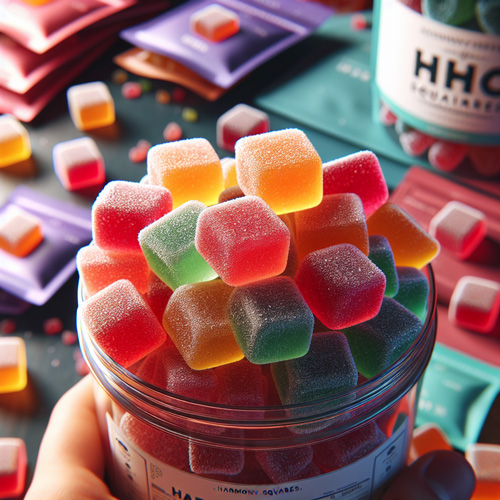
- Edibles allow you to mix your oil with other tasty ingredients. Some people like mixing it with gummies or in baked goods.
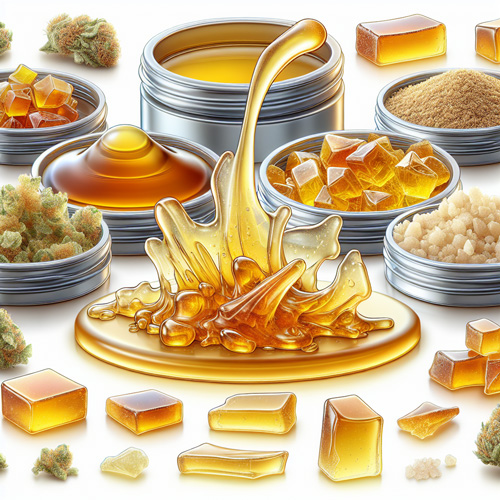
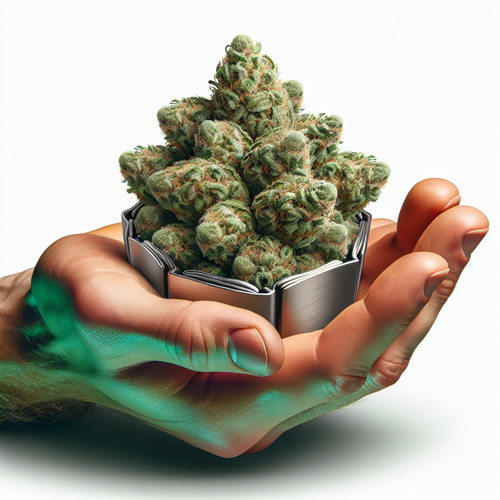
- Concentrates are great for people looking for the biggest impact. These are much stronger than using your DIY CBD oil by itself.
Wrap Up
Using the right DIY CBD recipe can make consumption even easier. You don’t want to buy such naturally-potent ingredients and then miss out on their potential benefits!
Whichever method you choose, it’s good to know that you can have a quality DIY CBD oil in a few simple steps. Even beginners need little more than an attentive eye!
Still curious about uses for CBD and other hemp extracts? Check out our FAQ page for more info on all things CBD!




/5Total reviews
Persons recommended this product
Filter by
star Rating
attach_file Attachments
Anonymous
Shopper
check_circle Verified
Shop owner replied
Was this helpful
Facebook
X (Twitter)
LinkedIn
Reddit
Copied to Clipboard
Anonymous
Shopper
check_circle Verified
Shop owner replied
Was this helpful
Facebook
X (Twitter)
LinkedIn
Reddit
Copy Link
Thanks for your review!
Your feedback helps us improve our service.
There are no reviews yet.
Be the first to review “ ”
Only logged in customers who have purchased this product may leave a review